Ribbon Bulletin Board
Need an attractive way to display snap shots? You can easily rearrange and switch out your favorite photos without expensive frames and multiple holes in your walls with this board. It makes a great gift as well!
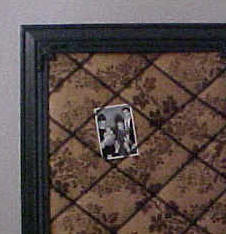
Example Picture | Here is another picture of one that I really like, you can see how they put a frame around this one. Click on picture to view it larger |

Materials Needed:
- A piece of plywood (the example was done with a 5′ x 3.5′ piece)
- A piece of batting a few inches larger than the plywood (needs to wrap around to the back)
- A piece of fabric the same size as the batting
- Large amount of 1/2″ wide elastic which coordinates with the fabric (example used approximately 10 yards)
- Staple gun and staples
|
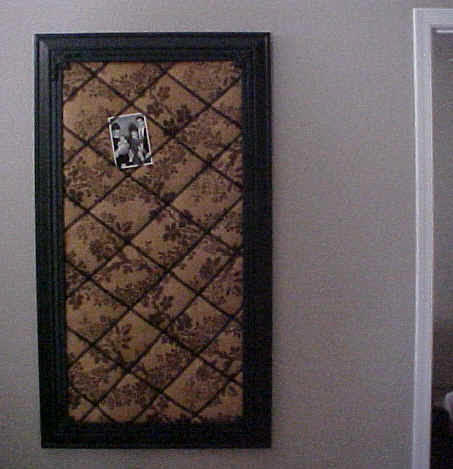 in this picture you can see how big it is, you can see the door way in the side of the picture. Click on picture to view it larger
Directions:
- Cover the plywood in batting and wrap the edges around to the back
- Staple the batting down close to the back edge of the plywood. If you wrap it too far down you will have to drill through the batting to hang the board and batting tends to catch in drills.)
- Cover the batting in whatever fabric strikes your fancy. I have a faux finish on the wall it hangs on that looks like denim, so I did a denim fabric.
- Measure about 1″ down from the top and staple the elastic to the back. Pull it across the front and staple to the back of the other side. The example was done in horizontal lines, for a clean look. You can also choose to criss-cross the elastic for a different style. When you pull the elastic across, pull it tight, as this is what primarily holds the pictures in.
- Decide what size photos you want to display. I like all sizes, so in the example the elastic is attached at various heights. Measure the distance equal to the size of your photo down from your first elastic band and delete about 1/2″ (for a 4″x 6″ horizontal picture, measure down 3.5″.) You need the elastic to over-lap the photo to hold it in place.
- Keep measuring down from the elastic above and make sure you measure on both sides before you staple so both sides are even. Don’t forget to pull the elastic tight!
- Repeat this all the way down the board.
- To hang it, a two-person job if your board is big, pre-drill a hole under your second row from the top (under the elastic) and put a screw through. Cut a hole through the fabric and batting so as not to catch the batting with the drill bit. If you catch the batting it will tear the batting up and make it lumpy. Level from the top and drill into the wall. I’m sure you could also use other methods of hanging, but we found this to be secure and it can’t be knocked crooked.