Glass Tile Necklace Pendant
-
This information was found at http://www.thehybridchick.com/2009/04/glass-tile-necklace-pendant/
-
You can also find instruction here: http://www.simplymodernmom.com/2009/10/glass-pendant-necklaces-tutorial/
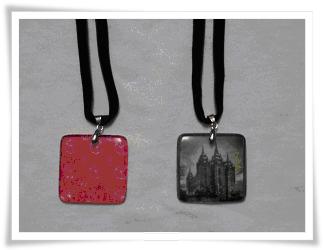
The supplies for this project are quite inexpensive and you’ll find yourself wanting to make tons of these sweet pendants for yourself and others. They are so addictive!!
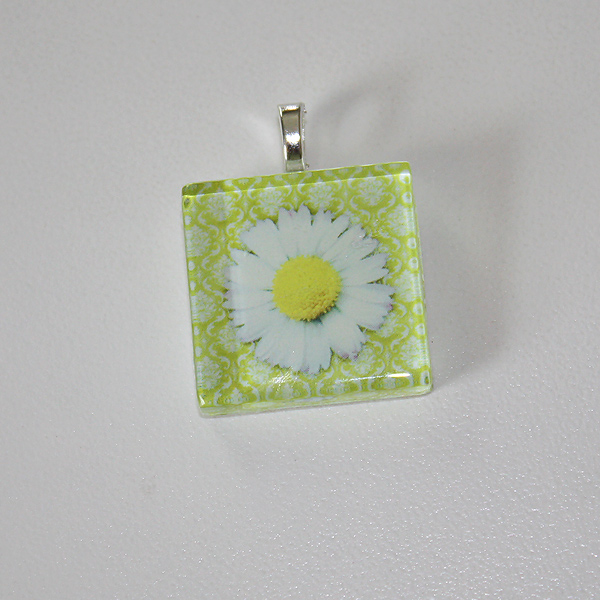
The first thing is to search through your digtal supplies and find some lovely art. I chose a gorgeous paper and flower from Matahati’s Spring Medley kit. I opened these in Photoshop and created a canvas for myself the same size as my glass tile (1×1 inch). After adjusting the sizes of my paper and flower to fit my 1×1 square, I printed and was ready to get crafty!
Let’s gather our supplies for the pendant. You’ll need:
-
1×1 inch glass tile and bail (I purchased mine on etsy – do a supplies search for glass tiles)
-
exacto knife & self-healing mat
-
E-6000 Adhesive
or other adhesive
-
your printed image
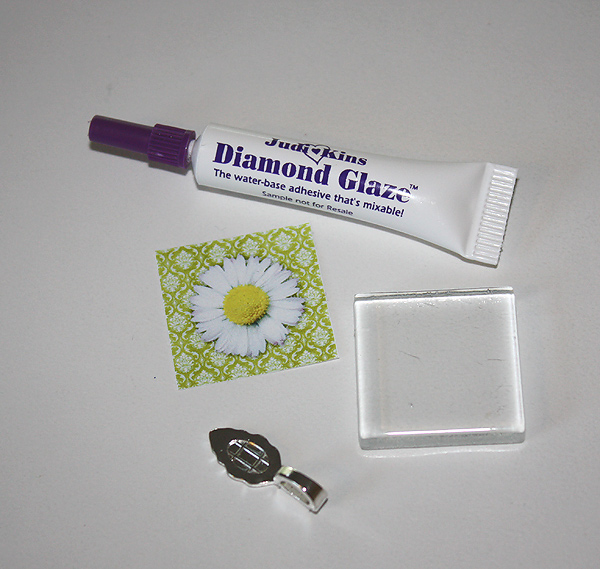
Step 1: Apply a thin coat of Diamond Glaze to the back side of your glass tile. The back side is somewhat textured and the front is smooth – – you’ll notice a difference. Once you’ve applied the Diamond Glaze, place your printed image on the tile FACE DOWN. Press the paper down well and be certain that there are not any bubbles in your glaze. I like to flip my tile right side up and smoosh it onto my work surface to be sure that the Diamond Glaze has gotten all the way to the edge of the tile and that there are no air pockets. Allow to dry (face down – you don’ t want that little sucker drying onto your counter, now do you?).
Step 2: Once your glue has dried, you’ll want to trim any overhang from the sides of your tile. Now you could trim that up before you glued your image to the tile, but I like doing it this way ![]() I use an exacto knife and my trusty self-healing mat. That poor thing has seen better days.
I use an exacto knife and my trusty self-healing mat. That poor thing has seen better days.

Step 3: If there was to be a tricky part in this process, this step is it. It’s not hard, though, so don’t fret. Next, you want to cover the back side of your tile with Diamond Glaze to seal the image. I do this by applying a nice bead of glaze all around the tile and then filling that in, working from outside in. If you get any little bubbles, which is apt to happen, you can use a toothpick to remove them, or just drag them to the edge of the tile with the applicator tip. A few small bubbles don’t bother me much, but you’ll want to be sure that you get rid of any large ones.

Step 4: After your Diamond Glaze has been applied, allow the tile to dry overnight. I usually put mine in the toaster oven so that no dust or little “helping” hands get on my tile. Some people simply cover the tile with a cup to protect it.
Step 5: Once you’re sure that your tile has completely dried, apply the bail to the back side of the tile with a wee bit of E6000.
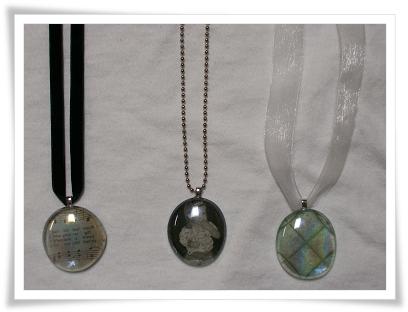
Step 6: Admire your handiwork & get ready for the compliments!!
The sellers on etsy.com that I got all the supplies from were The Glass Connection and Candy Tiles 2. I got the art from various sellers by typing in “clip art” or “collage art” or just googling topics on the internet and copy and pasting to a word document then resizing and printing. Good luck!
And another explanation
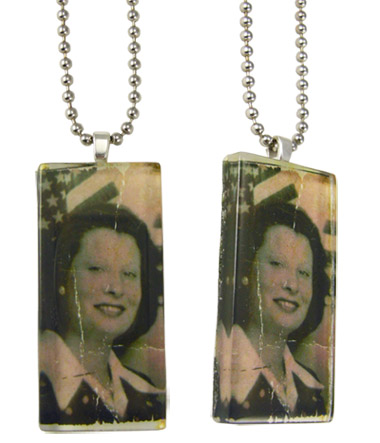
1. Choose your art, photo, or initial to place behind the glass. It helps to use the glass and move it over your images to see what will look best.
2. Place chosen image under glass and trace around it lightly with a sharp pencil. Cut image out just inside line carefully. When done, hold image under glass and trim off any excess edges. Repeat again with a piece of black or white cardstock.
3. Brush a thin layer of Judi-Kins Diamond Glaze on back of glass with a paintbrush. Place paintbrush immediately in cup with water or the glue will dry on bristles. Lay image on table and set the glass with glue down on it and press all over to secure image. Once the image touches the glass, it will not move much so place it right where you want it the first time.
4. Paint another thin layer of Diamond Glaze on the back of the image and then place the small piece of black or white cardstock down to hide the back of the image in case the colors bleed through the back of the paper.
5. Lay pendant down on table with glass side down and the cardstock side up. Gently squeeze through applicator a layer of Diamond Glaze on back. Use the tip of applicator to spread all around and pop any bubbles with a pin. Make sure it does not go over the edge (if it does, wipe excess off with damp paper towel). Replace lid on glaze bottle so it won’t dry out.
6. Put a small dot of E-6000 glue on the inside of bail and place on top of Diamond Glaze in center of the edge. Make sure to check that the image is not rotated or upside down. Gently press bail into diamond glaze until secure.
7. Transfer finished pendant to paper plate and let dry FLAT for approx. 12-24 hours to fully cure before adding necklace and wearing.
8. Diamond Glaze is NOT waterproof! Do not wear pendants in the rain or allow babies to suck on them or they will be ruined!